 Save
Save The clatter of a grill pan on a spring morning is never lost on me& There’s something about the scent of charred sourdough mingling with fresh mint that brightens my kitchen& This Fava Bean and Mint Bruschetta feels like an edible celebration of the season& Instead of complicated prep, this comes together with a few simple moves and a burst of green& I’ve come to crave it right around the first haul of favas from the market&
I still remember making this bruschetta on a breezy day when a good friend stopped by unexpectedly, hungry and sun-kissed from a walk& We both stood around the kitchen island, picking mint, shelling beans, and catching up as the bread sizzled& That afternoon, the sound of bread toasting seemed to punctuate our laughter, turning a spontaneous chat into an impromptu Italian-style snack feast&
Ingredients
- Fava beans (300 g, shelled): Choose fresh if you can—the flavor sings in spring& Frozen are good too, but always slip off the pale skins after blanching for the best texture&
- Garlic (1 small clove, minced): Just enough to nudge the beans without overpowering them (go gentle)&
- Fresh mint leaves (2 tbsp, finely chopped): The secret that makes every bite lively& Bruise the leaves gently to release their oils before chopping&
- Lemon zest (from 1/2 lemon): Adds brightness that balances the earthiness of the fava& Use a microplane for the lightest zest&
- Fresh flat-leaf parsley (1 tbsp, chopped, optional): Toss in if you like an extra layer of freshness—it’s not essential but never hurts&
- Ricotta or goat cheese (60 g, optional): For an extra luxurious layer& Ricotta is mild, goat cheese adds tang&
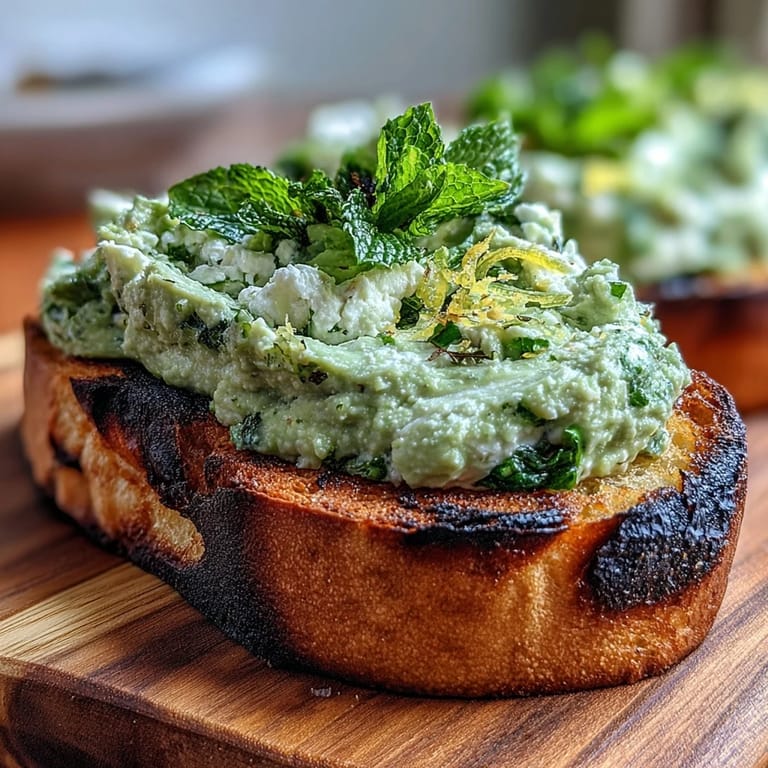
- Sourdough bread (4 thick slices): A sturdy, rustic loaf works best; day-old bread grills beautifully&
- Extra virgin olive oil (3 tbsp, divided): Quality matters—use your favorite for drizzling&
- Sea salt (1/2 tsp): Season generously but mind the saltiness if your bread or cheese is already seasoned&
- Freshly ground black pepper (1/4 tsp): Cracked right before serving lifts the flavors&
- Lemon juice (1 tsp): Adds tang and balance; taste and adjust—the beans soak it up&
Tired of Takeout? 🥡
Get 10 meals you can make faster than delivery arrives. Seriously.
One email. No spam. Unsubscribe anytime.
Instructions
- Prep the Fava Beans:
- Boil fava beans in salted water until tender: 2–3 minutes if fresh, 4–5 if frozen& Plunge them into ice water, then slip each bean from its pale jacket—oddly satisfying&
- Make the Herby Mash:
- In a mixing bowl, mash the peeled favas until chunky& Stir in garlic, mint, lemon zest, parsley (if using), 2 tbsp olive oil, lemon juice, salt, and pepper& Taste—a bit of lemon or salt might perk it up&
- Grill the Sourdough:
- Brush bread slices lightly with the remaining olive oil& Grill each side on a hot grill pan or BBQ for 2–3 minutes, until charred lines appear and the bread smells toasty&
- Spread the Cheese (Optional):
- If using, swoop ricotta or goat cheese onto the warm toast—the cheese softens gently from the heat&
- Top and Serve:
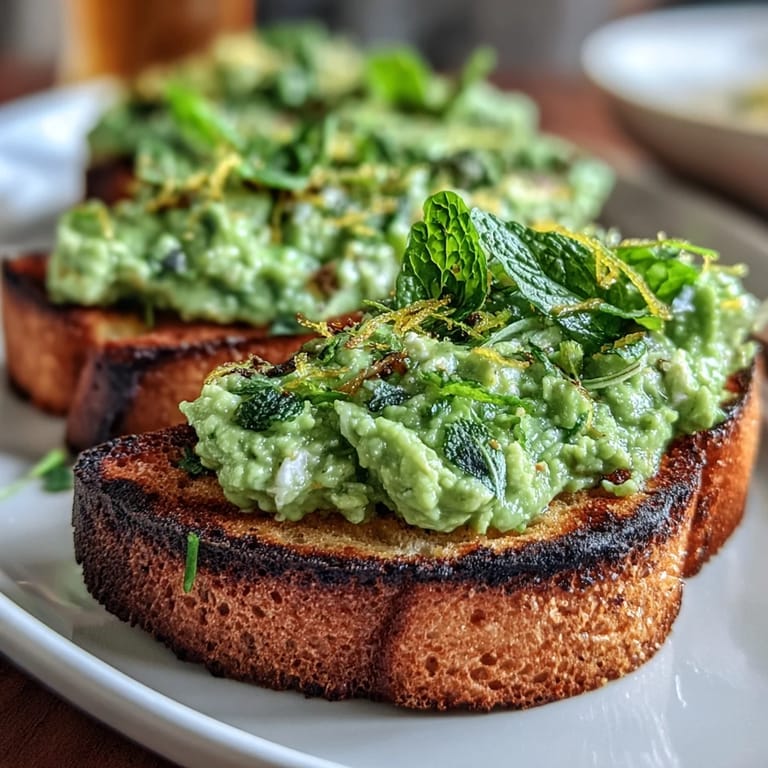
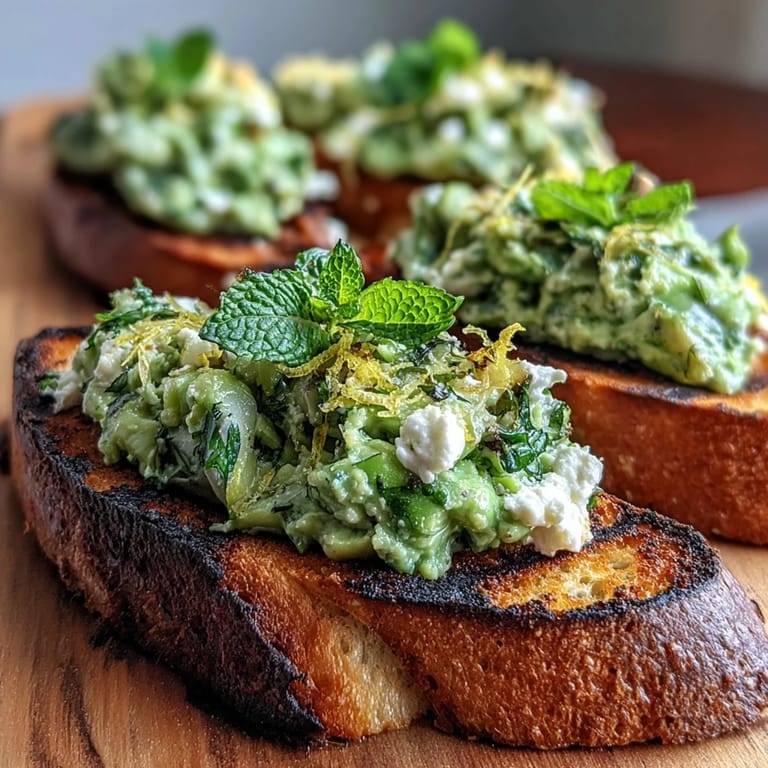
- Spoon the bright fava-mint mix over each slice, then finish with extra mint if you like& Serve while the bread is still warm and crunchy&
 Save
Save One summer evening, serving this bruschetta at a garden party, I watched the whole tray disappear in minutes—someone sneaked off with the last slice, grinning with green flecks of mint still on their lips& In that moment, it was more than just an appetizer&
How to Customize Your Bruschetta
I’ve learned that once you have the base, it’s fun to mix things up& Try stirring a handful of blanched peas into the mash or even swapping parsley for dill if that’s what’s thriving in your herb pot& Some friends love a hit of chili flakes for heat, while others go for extra lemon juice for brightness&
Serving Suggestions That Wow
Pair with a crisp white wine like a cold Pinot Grigio or Sauvignon Blanc& For a picnic vibe, pile the bean mash into a jar and pack the grilled bread separately to assemble on the spot—less messy, more festive& Leftovers make a superb sandwich spread the next day&
Getting the Bread Right Every Time
After a bit of trial and error, I’ve found that slightly stale sourdough grills to absolute perfection& If fresh, leave the slices out for an hour to dry& And don’t worry about uneven grill marks—they just add character&
- If your grill pan isn’t hot, the bread won’t get crisp fast enough
- Brush the bread’s edges too& The crust matters
- No cheese needed for flavor—the beans and mint hold their own
 Save
Save I hope this bruschetta brings as much lightness to your table as it does to mine& It’s a snack that turns even an ordinary afternoon into a little celebration&
Recipe FAQs
- → How do I peel fava beans easily?
Blanch shelled beans 2–5 minutes depending on freshness, then plunge into ice water. Pinch each bean between thumb and forefinger and the tough outer skin will slip off, leaving the bright green tender bean.
- → Can I use frozen fava beans instead of fresh?
Yes. Increase blanching time slightly (around 4–5 minutes) before shocking in ice water. Frozen beans still benefit from peeling for a smoother, more tender spread.
- → How do I get the sourdough nicely charred without burning?
Brush slices lightly with olive oil and cook on a hot grill pan or barbecue 2–3 minutes per side. Watch for golden spots and short charred lines; high heat and brief contact give color without drying the bread.
- → What is a good way to add creaminess without dairy?
For a dairy-free option, omit ricotta and fold in a spoonful of extra olive oil or a splash of aquafaba for silkiness. Adding fresh peas also boosts a naturally creamy, sweet texture.
- → How should I season the fava mixture for best balance?
Start with lemon zest and juice, a touch of minced garlic, chopped mint, salt and pepper, and olive oil to bind. Taste and adjust acidity or salt; a little parsley brightens the mix without overpowering the mint.
- → Can this be prepared ahead and assembled later?
Prepare the mashed fava topping a few hours ahead and store covered in the fridge to let flavors meld. Grill the bread just before serving to preserve crunch, and assemble right before serving for best texture.