 Save
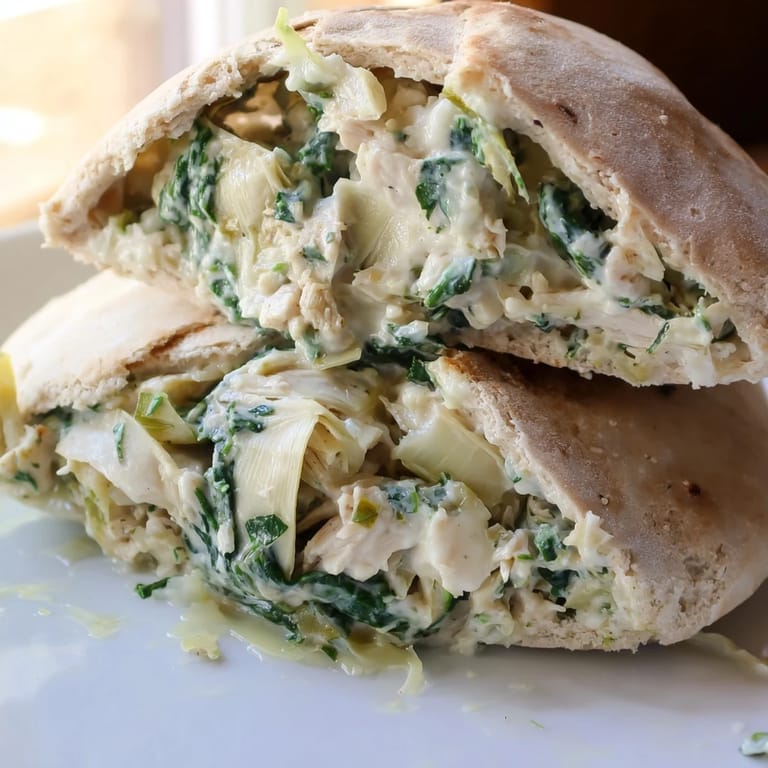
Save I stumbled onto this combination during one of those clean-out-the-fridge moments where creativity strikes out of necessity. The creamy spinach artichoke dip flavor profile tucked into warm pita bread became an instant household favorite that my family now requests weekly.
Last Tuesday, my neighbor caught the amazing smell wafting through our shared wall and actually knocked on my door to ask what I was making. I ended up sharing two stuffed pitas with her, and she texted me the next day saying she'd already made them for her family.
Ingredients
- 2 cups cooked chicken breast: Rotisserie chicken works beautifully here and saves time, but any cooked chicken you have on hand will do
- 1 cup canned artichoke hearts: Drain these well and give them a rough chop so they distribute evenly throughout the filling
- 1 cup fresh spinach: Chop it into smaller pieces so it's not unwieldy when you take a bite
- 1/2 cup Greek yogurt: This adds creaminess and protein while keeping things lighter than traditional cream cheese bases
- 1/4 cup light mayonnaise: Just enough to bind everything together without making it too heavy
- 1/2 cup shredded mozzarella cheese: The melt factor that makes these pockets so incredibly satisfying
- 1/4 cup grated Parmesan cheese: Adds that salty umami depth that makes spinach artichoke combinations so addictive
- 1 clove garlic: Fresh minced garlic is best here since it's only baked briefly
- 1/2 teaspoon onion powder: Rounds out the flavor profile without adding texture
- 1/2 teaspoon dried oregano: Brings that Mediterranean note that pairs so well with artichokes
- 1/4 teaspoon crushed red pepper flakes: Optional but recommended if you like a little warmth to cut through the creaminess
- Salt and black pepper: Essential for bringing all the flavors together
- 4 large pita breads: Whole wheat adds nuttiness and fiber, but regular works great too
- Fresh parsley: A pop of color and freshness on top
- Lemon wedges: The acid cuts through the rich filling and brightens everything
Tired of Takeout? 🥡
Get 10 meals you can make faster than delivery arrives. Seriously.
One email. No spam. Unsubscribe anytime.
Instructions
- Get your oven ready:
- Preheat to 375°F and line a baking sheet with parchment paper for easy cleanup
- Mix the filling:
- Combine all your filling ingredients in a large bowl until everything is evenly distributed and creamy
- Prep the pitas:
- Cut each pita in half and gently open the pockets to create space for stuffing
- Stuff generously:
- Fill each pita half as full as you can without tearing the bread
- Bake to perfection:
- Arrange on your prepared baking sheet and bake for 15 to 20 minutes until everything is hot and bubbly
- Finish and serve:
- Garnish with fresh parsley and serve with lemon wedges for squeezing over the top
 Save
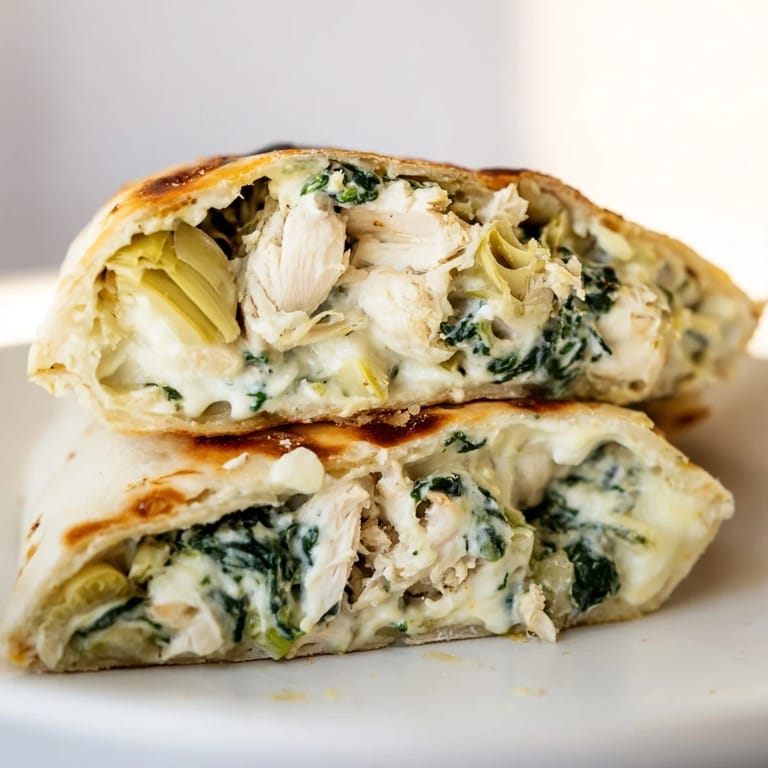
Save These have become my go-to when friends come over for casual weeknight dinners. Something about eating food with your hands makes everyone more relaxed, and the combination of textures never fails to get people talking.
Make It Your Way
Swap the Greek yogurt for cream cheese if you want an even richer filling. Sometimes I add sun-dried tomatoes or roasted red peppers for extra color and a sweet note that balances the artichoke's slight bitterness.
Perfect Pairings
A crisp green salad with a bright vinaigrette cuts through the creaminess perfectly. I also love serving these alongside roasted vegetables or a simple tomato soup for a more substantial meal.
Meal Prep Magic
The filling actually tastes better after sitting overnight, so I often mix up a double batch on Sunday. The artichoke and spinach flavors meld beautifully and the seasoning permeates throughout the chicken. Keep it separate from the pitas until you're ready to bake.
- Warm cold leftovers in a 350°F oven for about 10 minutes to restore that freshly baked texture
- The filling freezes well for up to a month if you want to prep even further ahead
- Pitas can get soggy if stuffed ahead of time, so always assemble right before baking
 Save
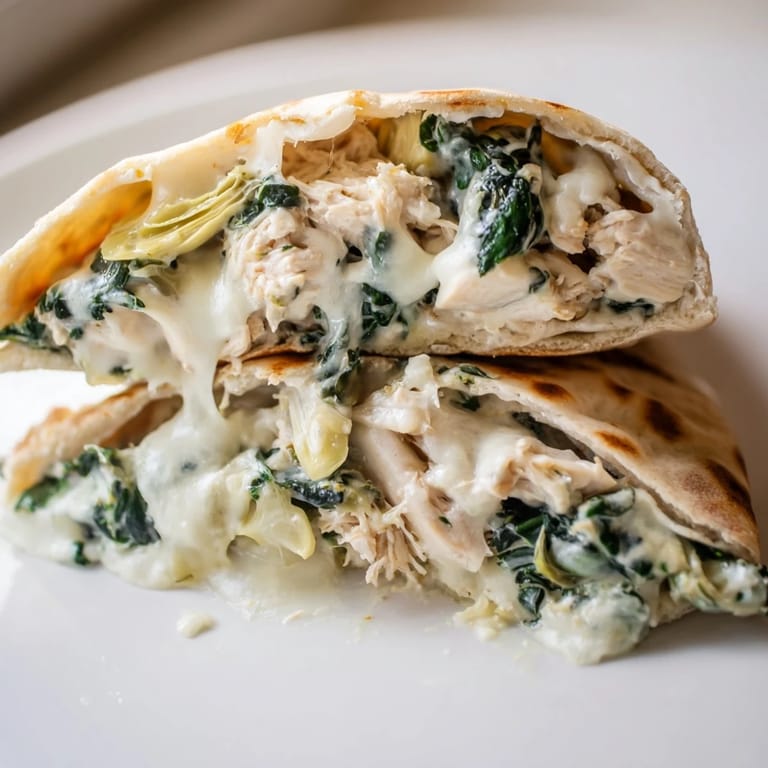
Save Hope these become a regular in your dinner rotation like they have in mine. There's something so satisfying about turning dip flavors into a real meal.
Recipe FAQs
- → Can I prepare the filling ahead of time?
Yes, prepare the filling up to 24 hours in advance and refrigerate in an airtight container. Stuff and bake the pitas just before serving for the best texture and melted cheese.
- → What type of chicken works best?
Rotisserie chicken provides excellent flavor and saves time. Alternatively, poach or bake fresh chicken breasts and dice them. Both methods yield tender, evenly cooked chicken perfect for this filling.
- → Can I make this vegetarian?
Absolutely. Replace the chicken with chickpeas, white beans, or crumbled tofu for similar protein content. Maintain the same proportion and follow the remaining instructions as directed.
- → How should I store leftovers?
Store leftover stuffed pitas in an airtight container in the refrigerator for up to 3 days. Reheat in a 350°F oven for 10-12 minutes until warmed through, or enjoy cold as a salad-inspired meal.
- → What are good side dish pairings?
Serve alongside a crisp green salad, roasted vegetables, Greek salad, or tzatziki sauce for dipping. A light tomato-based soup also complements the Mediterranean flavors beautifully.
- → Can I freeze these pitas?
Yes, freeze unbaked stuffed pitas up to 1 month. Bake directly from frozen, adding 5-8 extra minutes to the baking time until the filling is hot and cheese is melted.