 Save
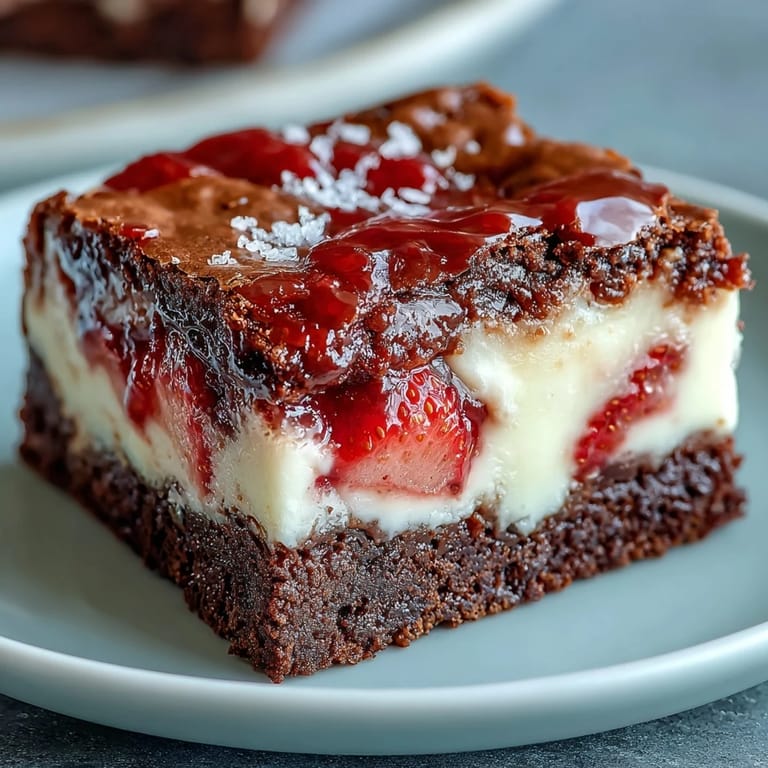
Save The year I decided to impress someone with dessert, I found myself staring at a mixing bowl at midnight, wondering if strawberries and chocolate could actually coexist without tasting like a mistake. Turns out, they don't just coexist—they transform into something so unexpectedly romantic that I've made these brownies for every celebration since. There's something about the sharp tartness of strawberry cutting through rich chocolate that feels both indulgent and elegant, and honestly, it's easier than it looks.
I made these for a dinner party once and watched someone take a bite, pause mid-chew, and just close their eyes. No words needed. That's when I knew this recipe had something special—it wasn't just dessert anymore, it was a moment.
Ingredients
- Unsalted butter (120 g): Use quality butter here since it's the backbone of your brownie layer—it carries the cocoa flavor without competing.
- Granulated sugar (200 g for brownies, 50 g for cheesecake): Don't skimp or substitute; the sugar creates that fudgy texture when it melts into the chocolate.
- Unsweetened cocoa powder (75 g): This is your chocolate moment, so taste your cocoa powder first—some brands are more bitter than others and that matters.
- Large eggs (3 total): Room temperature eggs blend smoother and create a more luxurious crumb; take them out of the fridge 15 minutes before starting.
- Vanilla extract (1 tsp for brownie, ½ tsp for cheesecake): Real vanilla makes a noticeable difference in both layers, so don't go for the imitation stuff here.
- All-purpose flour (80 g): Measure by spooning into your cup and leveling off—scooping directly into the bag makes it packed and dense.
- Salt (¼ tsp): A tiny amount that enhances chocolate without tasting salty; it's the secret whisper in the background.
- Cream cheese (225 g): Softening this properly is non-negotiable—hard cream cheese creates lumps that refuse to blend no matter how hard you try.
- Strawberry jam or puree (100 g): Choose a jam with actual fruit, not just sugar; the flavor difference is real and worth seeking out.
- Fresh strawberries (2-3 diced, plus halves for garnish): Optional but they add pockets of freshness that make people ask for the recipe.
Tired of Takeout? 🥡
Get 10 meals you can make faster than delivery arrives. Seriously.
One email. No spam. Unsubscribe anytime.
Instructions
- Set your stage:
- Preheat your oven to 175°C and line your pan with parchment paper, letting the edges overhang so you can pull these brownies out easily later. Your future self cutting into these will thank you for this small act of kindness.
- Build the brownie base:
- Melt butter gently over low heat—rushing this step makes it splutter and brown, which changes everything. Once melted, whisk in sugar and cocoa powder until the mixture looks silky and dark, then stir in each egg one at a time, watching how it transforms into something almost mousse-like.
- Finish the brownie layer:
- Add vanilla and fold in your flour with salt just until you don't see white streaks anymore—overmixing here creates tough brownies, which is the opposite of what you want. Pour most of the batter into your prepared pan, but keep that ¼ cup aside for the swirl magic later.
- Create the cheesecake magic:
- Beat your softened cream cheese until it's completely smooth and creamy, which takes longer than you'd think but is absolutely worth it. Add sugar, egg, and vanilla, mixing until you have no lumps, then fold in your strawberry jam or puree—this is where the pink happens.
- Layer and swirl:
- Pour the cheesecake mixture right over your brownie base, spreading it gently to cover. Now dollop that reserved brownie batter on top and drag a knife or skewer through it in loose patterns—don't overthink the swirl or you'll muddy the colors.
- Bake to perfection:
- Slide into the oven for 32-35 minutes—the brownies should look just barely set in the middle with a little wobble. A toothpick should come out with a few moist crumbs clinging to it, not wet batter and not completely clean.
- Cool with patience:
- Let them cool completely in the pan (this takes time but prevents the whole thing from falling apart). Then refrigerate for at least 2 hours—this is the hard part because your kitchen smells incredible, but cold brownies cut cleanly and the flavors settle.
- Finish with flourish:
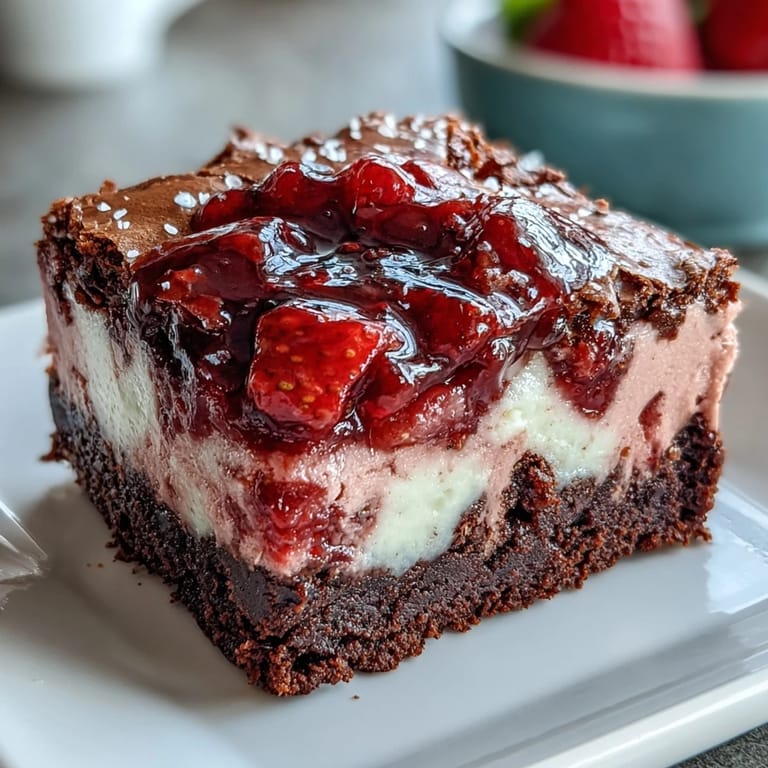
- Once chilled, use a warm knife (dip it in hot water between slices) to cut through cleanly, and top with fresh strawberry halves and chocolate shavings if you're feeling fancy.
 Save
Save Someone once told me these brownies reminded them of being pampered, like dessert with a small spa day attached. That's when I realized it's not about showing off—it's about making people feel like they're worth the two layers, the careful swirl, and the patient chilling time.
Why This Combination Works
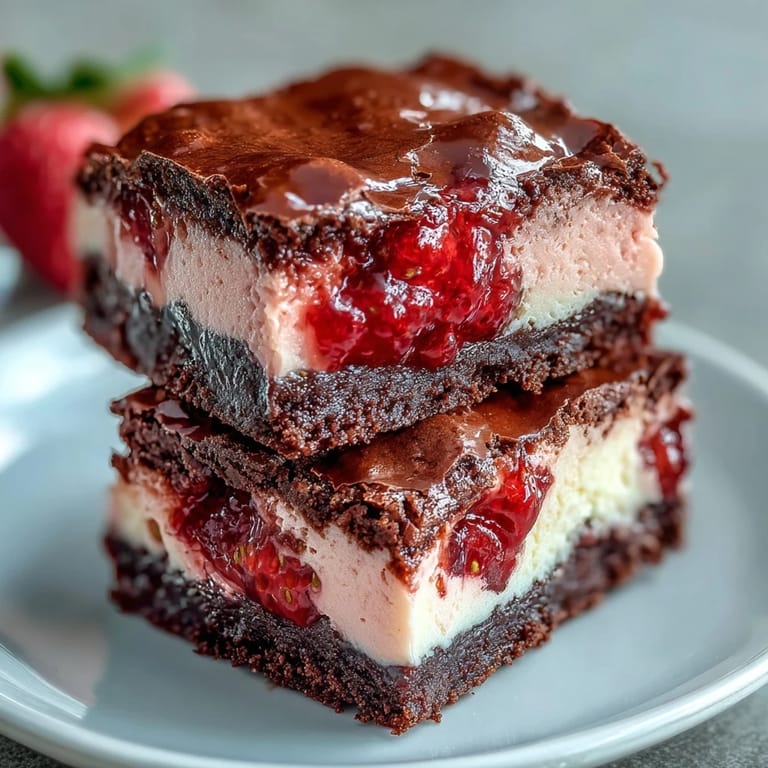
Chocolate and strawberry have been flirting with each other in desserts for centuries, and these brownies finally commit to the relationship. The acid in strawberry cuts through chocolate's richness in a way that makes both flavors brighter, while the fudgy brownie base keeps everything grounded and indulgent. It's the contrast that makes it interesting—without one, you'd have a pretty good brownie or a pretty good cheesecake, but together they become something people remember.
Timing and Temperature Tricks
Oven temperatures vary wildly, so the first time you make these, start checking at 30 minutes rather than waiting the full 35. The difference between perfectly fudgy and slightly overbaked is about 2 minutes, and that toothpick test is your best friend. If your kitchen runs cool, your brownies might need an extra few minutes; if it runs hot, they'll be done faster than the recipe suggests.
Serving and Storage Wisdom
These brownies actually improve after a day or two in the refrigerator—the strawberry flavor deepens and the texture becomes even creamier as the layers meld together. They keep beautifully for up to 5 days if you store them in an airtight container, though they never last that long in my kitchen.
- Serve cold straight from the fridge for that cheesecake-like texture, or let them sit at room temperature for 10 minutes if you prefer them softer and more fudgy.
- A dollop of whipped cream or a scoop of vanilla ice cream on top turns these into something feel-special enough for Valentine's Day or any occasion that calls for romance.
- Make these a day ahead for dinner parties—they're better cold anyway and one less thing to stress about before guests arrive.
 Save
Save Make these brownies and watch what happens—the way eyes light up, the way a conversation pauses for a moment of pure chocolate and strawberry bliss. That's worth every minute of prep and waiting.
Recipe FAQs
- → How do I achieve the marbled effect?
After pouring the cheesecake layer over the brownie batter, dollop reserved brownie batter on top and gently swirl with a knife or skewer to create a marbled pattern.
- → Can I substitute fresh strawberries in the cheesecake layer?
Yes, finely diced fresh strawberries add extra fruitiness, enhancing the creamy cheesecake with natural strawberry flavor.
- → What is the best way to store leftovers?
Keep the brownies chilled in an airtight container in the refrigerator for up to 5 days to maintain freshness.
- → Can I use raspberry jam instead of strawberry?
Absolutely, raspberry jam offers a similar fruity sweetness and works well as an alternative in the cheesecake layer.
- → How can I ensure clean slices when cutting?
After baking, refrigerate the brownies for at least 2 hours to firm up before slicing for neat, clean pieces.
- → Is it possible to make these brownies vegetarian-friendly?
This version is already vegetarian, containing no meat products, but be sure to check all ingredient labels if needed.