 Save
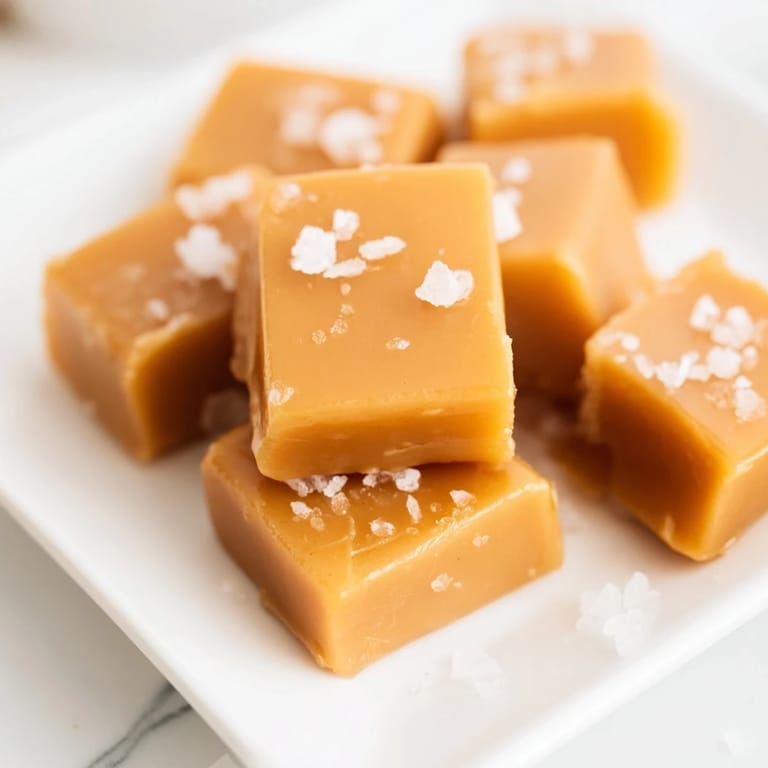
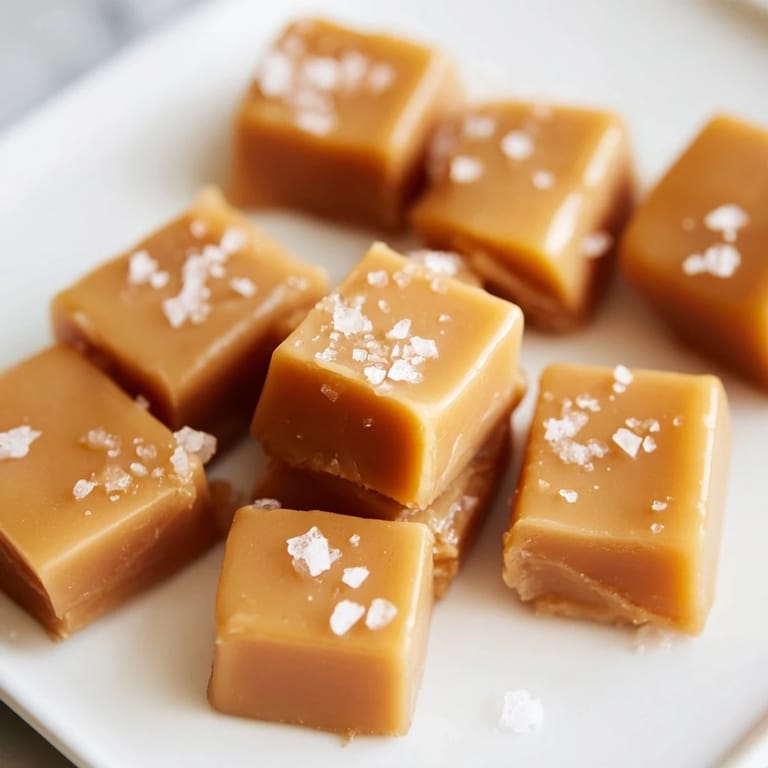
Save There's something magical about watching sugar transform into liquid gold, and I discovered it quite by accident one rainy afternoon when I was craving something sweet but couldn't justify a store-bought candy bar. I pulled out a candy thermometer I'd inherited from my grandmother and decided to tackle homemade caramels for the first time. What struck me most wasn't the cooking process itself, but that moment when the cream hit the hot sugar and the whole mixture erupted into a golden bubble, filling my kitchen with this rich, toasty aroma that made me pause and just breathe it in. These sea salt caramels became my quiet victory that day, and now whenever someone tries one, they always ask for the recipe.
I remember bringing a batch to my neighbor last winter when she was dealing with a rough week, and watching her face light up as she bit into one made me realize these weren't just candies—they were tiny moments of comfort I could hand over. She said they tasted like the fancy ones from that expensive chocolate shop downtown, and I'd made them in my ordinary kitchen with a grocery store candy thermometer.
Ingredients
- Heavy cream: Use full-fat cream, not half-and-half, because it's what carries all that luxurious richness into the final caramel.
- Unsalted butter: This gives you control over the salt level; salted butter can throw off the balance you're aiming for.
- Granulated sugar: Don't reach for brown sugar here; you need white sugar to achieve that clean, light golden color.
- Light corn syrup: This ingredient is quieter than molasses but it prevents crystallization, which means your caramels stay silky instead of grainy.
- Pure vanilla extract: Added at the very end so the heat doesn't cook off its delicate flavor.
- Fine sea salt: Mixed into the caramel itself for depth; this is different from the flaky salt you'll sprinkle on top.
- Flaky sea salt: Maldon is traditional and preferred because those delicate crystals dissolve on your tongue, creating pockets of briny sweetness.
Tired of Takeout? 🥡
Get 10 meals you can make faster than delivery arrives. Seriously.
One email. No spam. Unsubscribe anytime.
Instructions
- Prepare your stage:
- Line your pan with parchment, leaving overhang on two sides so you can lift the whole block out later, then butter that parchment lightly so the caramels don't stick. This step feels small but it saves frustration at the end when you're excited to cut and wrap.
- Warm your cream and butter:
- Heat them together in a small saucepan until the butter melts and steam rises, but don't let it bubble aggressively. You want this ready to go when your sugar hits the perfect stage; the temperature shock between them creates that beautiful texture.
- Build your caramel base:
- In your large, heavy-bottomed saucepan, combine sugar, corn syrup, and water, stirring gently until everything looks like wet sand. Once you stop stirring and turn up the heat, you're committed—resist the urge to stir, because moving the mixture now can cause unwanted crystallization.
- Cook to the light golden stage:
- Watch as the edges begin to brown first, then let the color creep toward the center until the whole thing is pale gold and your thermometer reads 320°F. This happens faster than you'd expect, so stay close and keep your eyes on it; go even a few degrees higher and the flavor turns bitter.
- The moment of truth—add your cream:
- This is the step that looks dangerous because it is a little—pouring cool cream into sugar that's nearly 320°F causes it to bubble and roar. Keep stirring constantly as you pour and as the mixture cooks up to 245°F for that pillowy soft texture, or 250°F if you like them with a bit more bite.
- Finish and pour:
- Remove from heat, add vanilla and fine sea salt, then immediately pour into your prepared pan before it cools and thickens. Work quickly but stay calm; five minutes of setting time lets it firm up just enough before you add the crowning flaky sea salt.
- The patience part:
- Let these cool for two full hours at room temperature; this isn't about being patient, it's about chemistry, as the caramels need to set completely so they cut cleanly instead of tearing.
- Cut and wrap:
- Use a sharp knife dipped in hot water and wiped dry between cuts to get clean squares, then wrap each one in wax paper so they don't stick together and create one giant clump.
 Save
Save There was an evening when I made these for a friend's daughter who was learning to cook, and we stood together while the sugar caramelized, and I watched her understand for the first time that candy wasn't something that just existed—it was something you could make. She's in college now and still sends me photos of batches she's made in her dorm kitchen.
Why Homemade Beats Store-Bought
When you make your own caramels, you taste the difference immediately because the butter and cream are fresh and unmasked by artificial flavors or stabilizers. Store-bought versions often have a slightly synthetic coating and a chewiness that feels processed, but yours will have that authentic, almost melting texture that reminds you of what caramel actually is. The sea salt isn't buried under layers of packaging or sitting around for weeks losing its brightness; it's there where it should be, clean and sharp.
Flavor Variations to Explore
Once you nail the basic recipe, the door opens to endless tweaks that can make these feel fresh and new. I've stirred espresso powder into the caramel itself for a dark, sophisticated version, and I've added smoked sea salt instead of regular for something with an unexpected savory note. My favorite experiment was browning the butter before mixing it with the cream, which adds a hazelnut depth that makes people pause mid-chew and ask what that flavor is.
Storage, Gifting, and Indulgence
These caramels keep at room temperature in an airtight container for up to two weeks, though honestly they rarely last that long in my house. Wrapped individually in wax paper or cellophane, they become instant gifts that feel thoughtful without requiring hours of fussing. I've also dipped the finished caramels in tempered dark chocolate, which transforms them into something even more elegant and makes them feel worthy of a fancy gift box.
- If you want to get fancy, a drizzle of melted chocolate on top of the set caramel before wrapping adds visual appeal without extra effort.
- Store them away from humidity and heat, because moisture is the enemy of caramel texture.
- These also freeze beautifully for up to three months, so you can make a big batch and portion them out as needed.
 Save
Save Making caramels at home might seem like a small thing, but it's one of those kitchen projects that quietly builds confidence and reminds you that magic really does happen on a stovetop. Once you've made your first successful batch, you'll find yourself making them again and again.
Recipe FAQs
- → What ingredients create the soft texture?
The combination of heavy cream and butter cooked to a specific temperature ensures a smooth, chewy texture.
- → Why add flaky sea salt on top?
Flaky sea salt adds a delicate crunch and enhances the caramel's sweetness with a balanced salty note.
- → How to know when the caramel is ready?
Cooking the sugar mixture to 320°F (160°C) and then combining with warm cream and butter ensures proper caramelization and texture.
- → What tools are essential for making these caramels?
An 8x8-inch pan, candy thermometer, saucepans, parchment paper, and a sharp knife help achieve best results.
- → Can the butter be browned for extra flavor?
Yes, browning the butter before mixing with cream adds a richer, nuttier flavor dimension.